

Ekodeck's hidden fastening system and consistent board profile make it one of the more DIY-friendly decking products on the market — which is exactly why so many Central Coast homeowners ask whether they can skip the installer and lay it themselves. The honest answer is: sometimes, on the right project, with the right prep. Here's what actually goes into Ekodeck DIY installation before you commit a weekend to it.
Ekodeck Installation Requirements
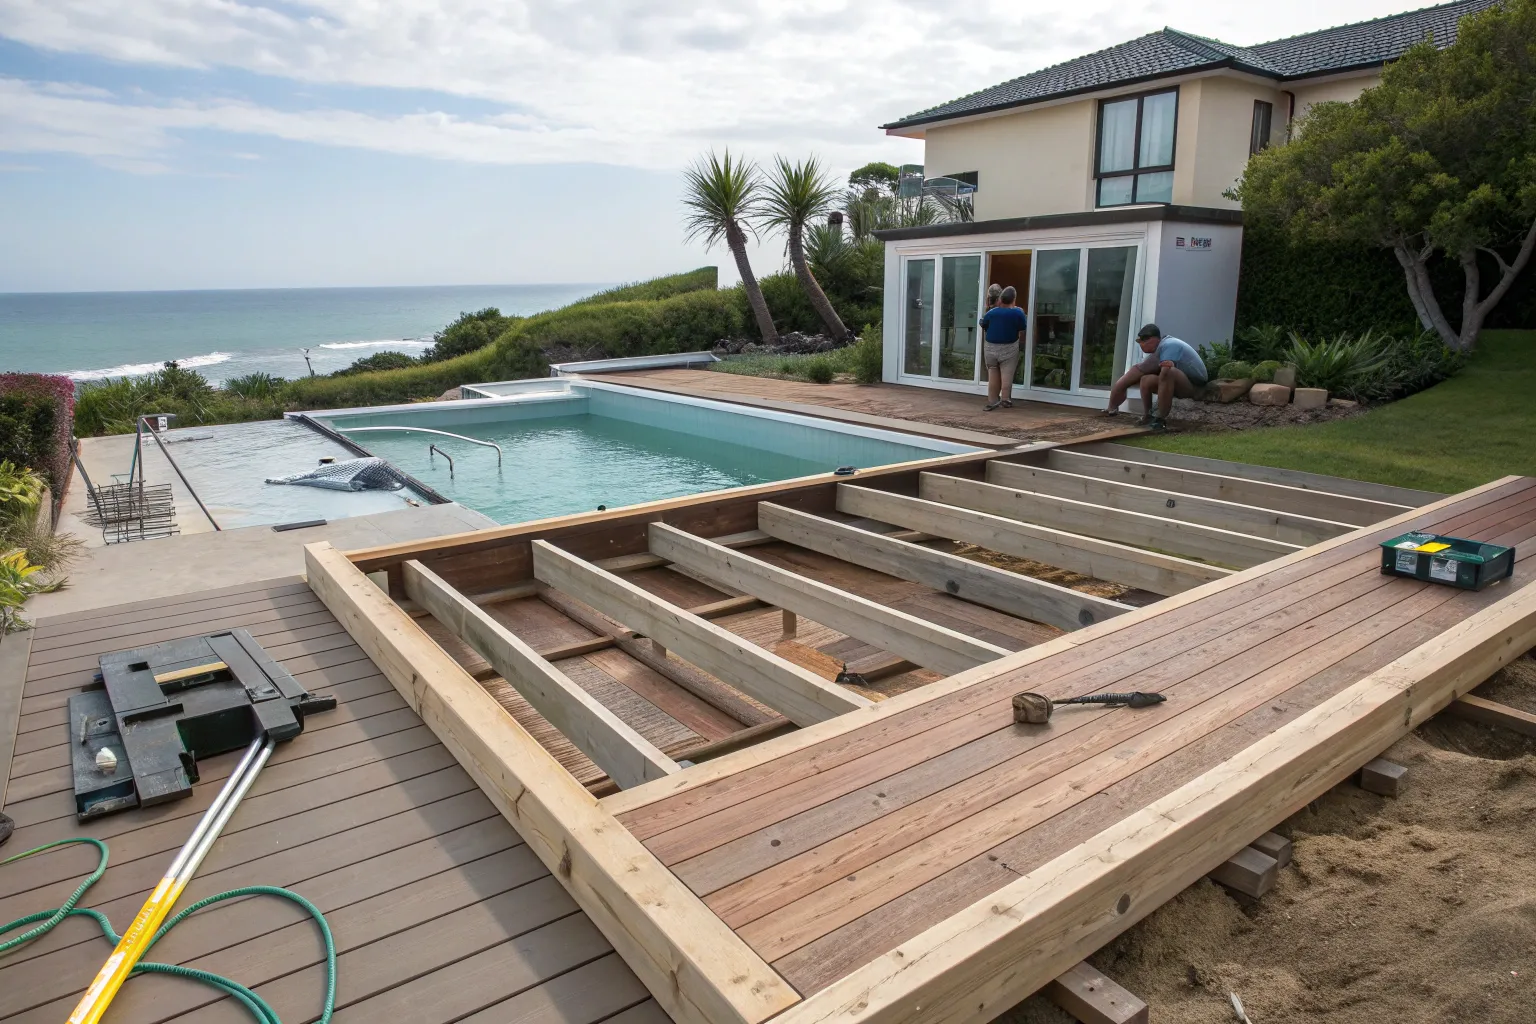
Before a single board goes down, the substructure has to be right. Ekodeck is laid over a timber or steel subframe with joist spacing tighter than what's typical for solid hardwood — composite boards flex differently under load, so the manufacturer's maximum joist centres need to be followed exactly, not estimated. The subframe also needs adequate airflow underneath to stop moisture building up, and it needs to be level and structurally sound before you start, whether that's new footings and posts or an existing frame being reused.
Expansion gaps matter just as much as the frame. Composite boards expand and contract with temperature more than timber, so board-to-board and perimeter gaps have to match the manufacturer's spec — skip this and you're setting up problems for the first hot Central Coast summer. And depending on your deck's height, size, and proximity to boundaries, it may fall under complying development or need a full development application through your local council before you build at all — worth checking before you buy materials, not after.
Tools Needed for DIY Ekodeck Installation
Beyond a standard timber toolkit, Ekodeck's fixing system calls for a few specific items:
- Circular saw with a fine-tooth composite-rated blade — a standard timber blade will chip and melt the board edge.
- Ekodeck's proprietary hidden fastener clips and the driver bit they require — this is what gives the finished deck its screw-free surface.
- Spacer gauges to hold consistent expansion gaps between boards as you work.
- A laser or spirit level to confirm the subframe is true before boards go down.
- A chalk line or string line to keep the first row straight — every board after it follows that reference line.
- Mitre saw for clean end cuts and trim pieces around posts and edges.
- Standard safety gear — eye and hearing protection for cutting, and gloves for handling boards.

Common DIY Ekodeck Installation Mistakes
Most DIY problems trace back to a handful of repeat mistakes:
- Joist spacing too wide. Boards feel bouncy or spring underfoot, and long-term sag becomes hard to fix without pulling the deck up.
- Skipping expansion gaps. Boards laid tight together can cup or buckle once summer heat sets in.
- Using standard timber screws instead of the specified fastening system. This leaves visible fixings, risks corrosion, and can affect warranty cover.
- Poor subframe ventilation. Trapped moisture underneath leads to mould and accelerated wear on the frame itself.
- Not squaring the first row off a straight reference line. Small errors compound — a deck that's slightly out of square at board one is visibly crooked by board twenty.
- Working from memory instead of the manufacturer's install guide. The written spec exists because these details are easy to get wrong under time pressure.
When to Hire Professional Installers
A simple, single-level, rectangular deck is the realistic ceiling for most confident DIYers. Once a project involves multi-level layouts, curved edges, picture-framed borders, or stair stringers, the margin for error narrows fast — that's when a custom deck design and build service earns its cost. The same goes for any deck that needs council sign-off or structural engineering, and for pool decking, where slip-rating and pool-fencing proximity rules add compliance requirements a first-time installer can easily miss.
Even on a straightforward deck, there's a practical case for a professional deck builder: the job gets done in days rather than weekends, and you get a single point of accountability if something needs fixing later — rather than relying entirely on your own troubleshooting.
Ekodeck Warranty and DIY Installation
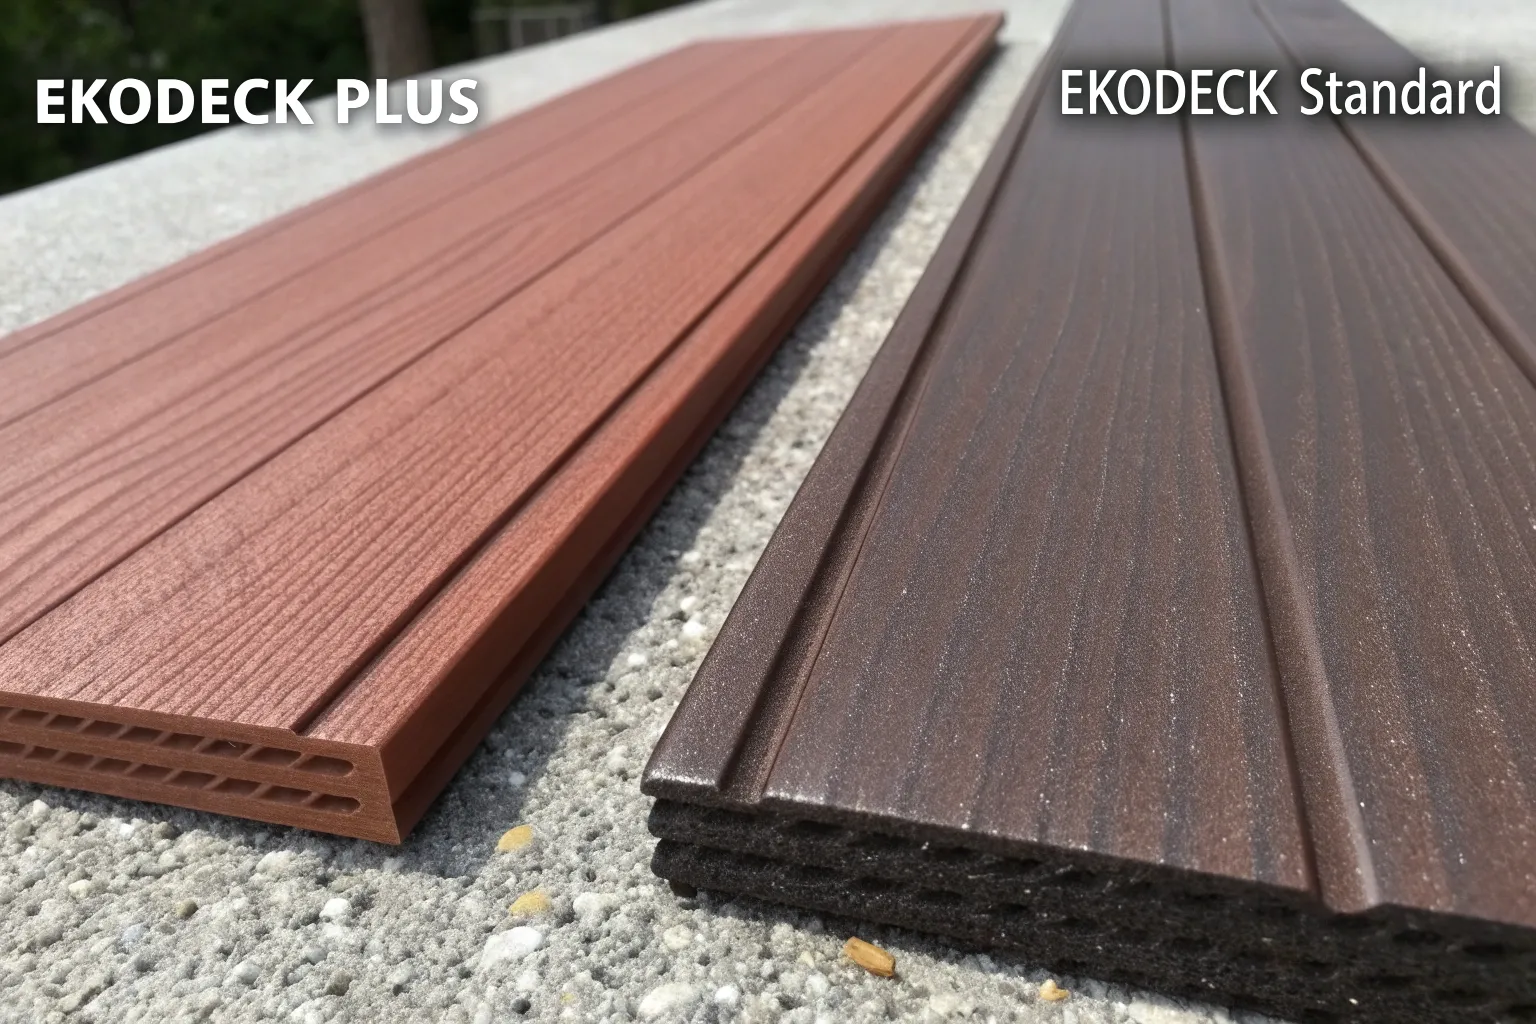
Ekodeck's warranty covers manufacturing defects in the board itself, and it isn't automatically voided by installing it yourself. What it is conditional on is following the manufacturer's written installation specification — joist spacing, fastening method, and expansion gaps included — regardless of who's holding the drill. Most denied claims come down to an installation detail that didn't match the spec, not the person who did the work.
If you do go the DIY route, keep dated photos of the subframe, fastening, and gap spacing as you go — it's the easiest way to demonstrate a compliant install if a warranty question ever comes up. A professional installation carries the same product warranty, plus it typically comes with a workmanship guarantee on top, which is the main practical difference between the two paths.
Every figure and rule above is a general guide, not a substitute for Ekodeck's official installation manual for your specific board profile. If you'd rather have it installed right the first time, browse the Ekodeck composite decking range or call us today.